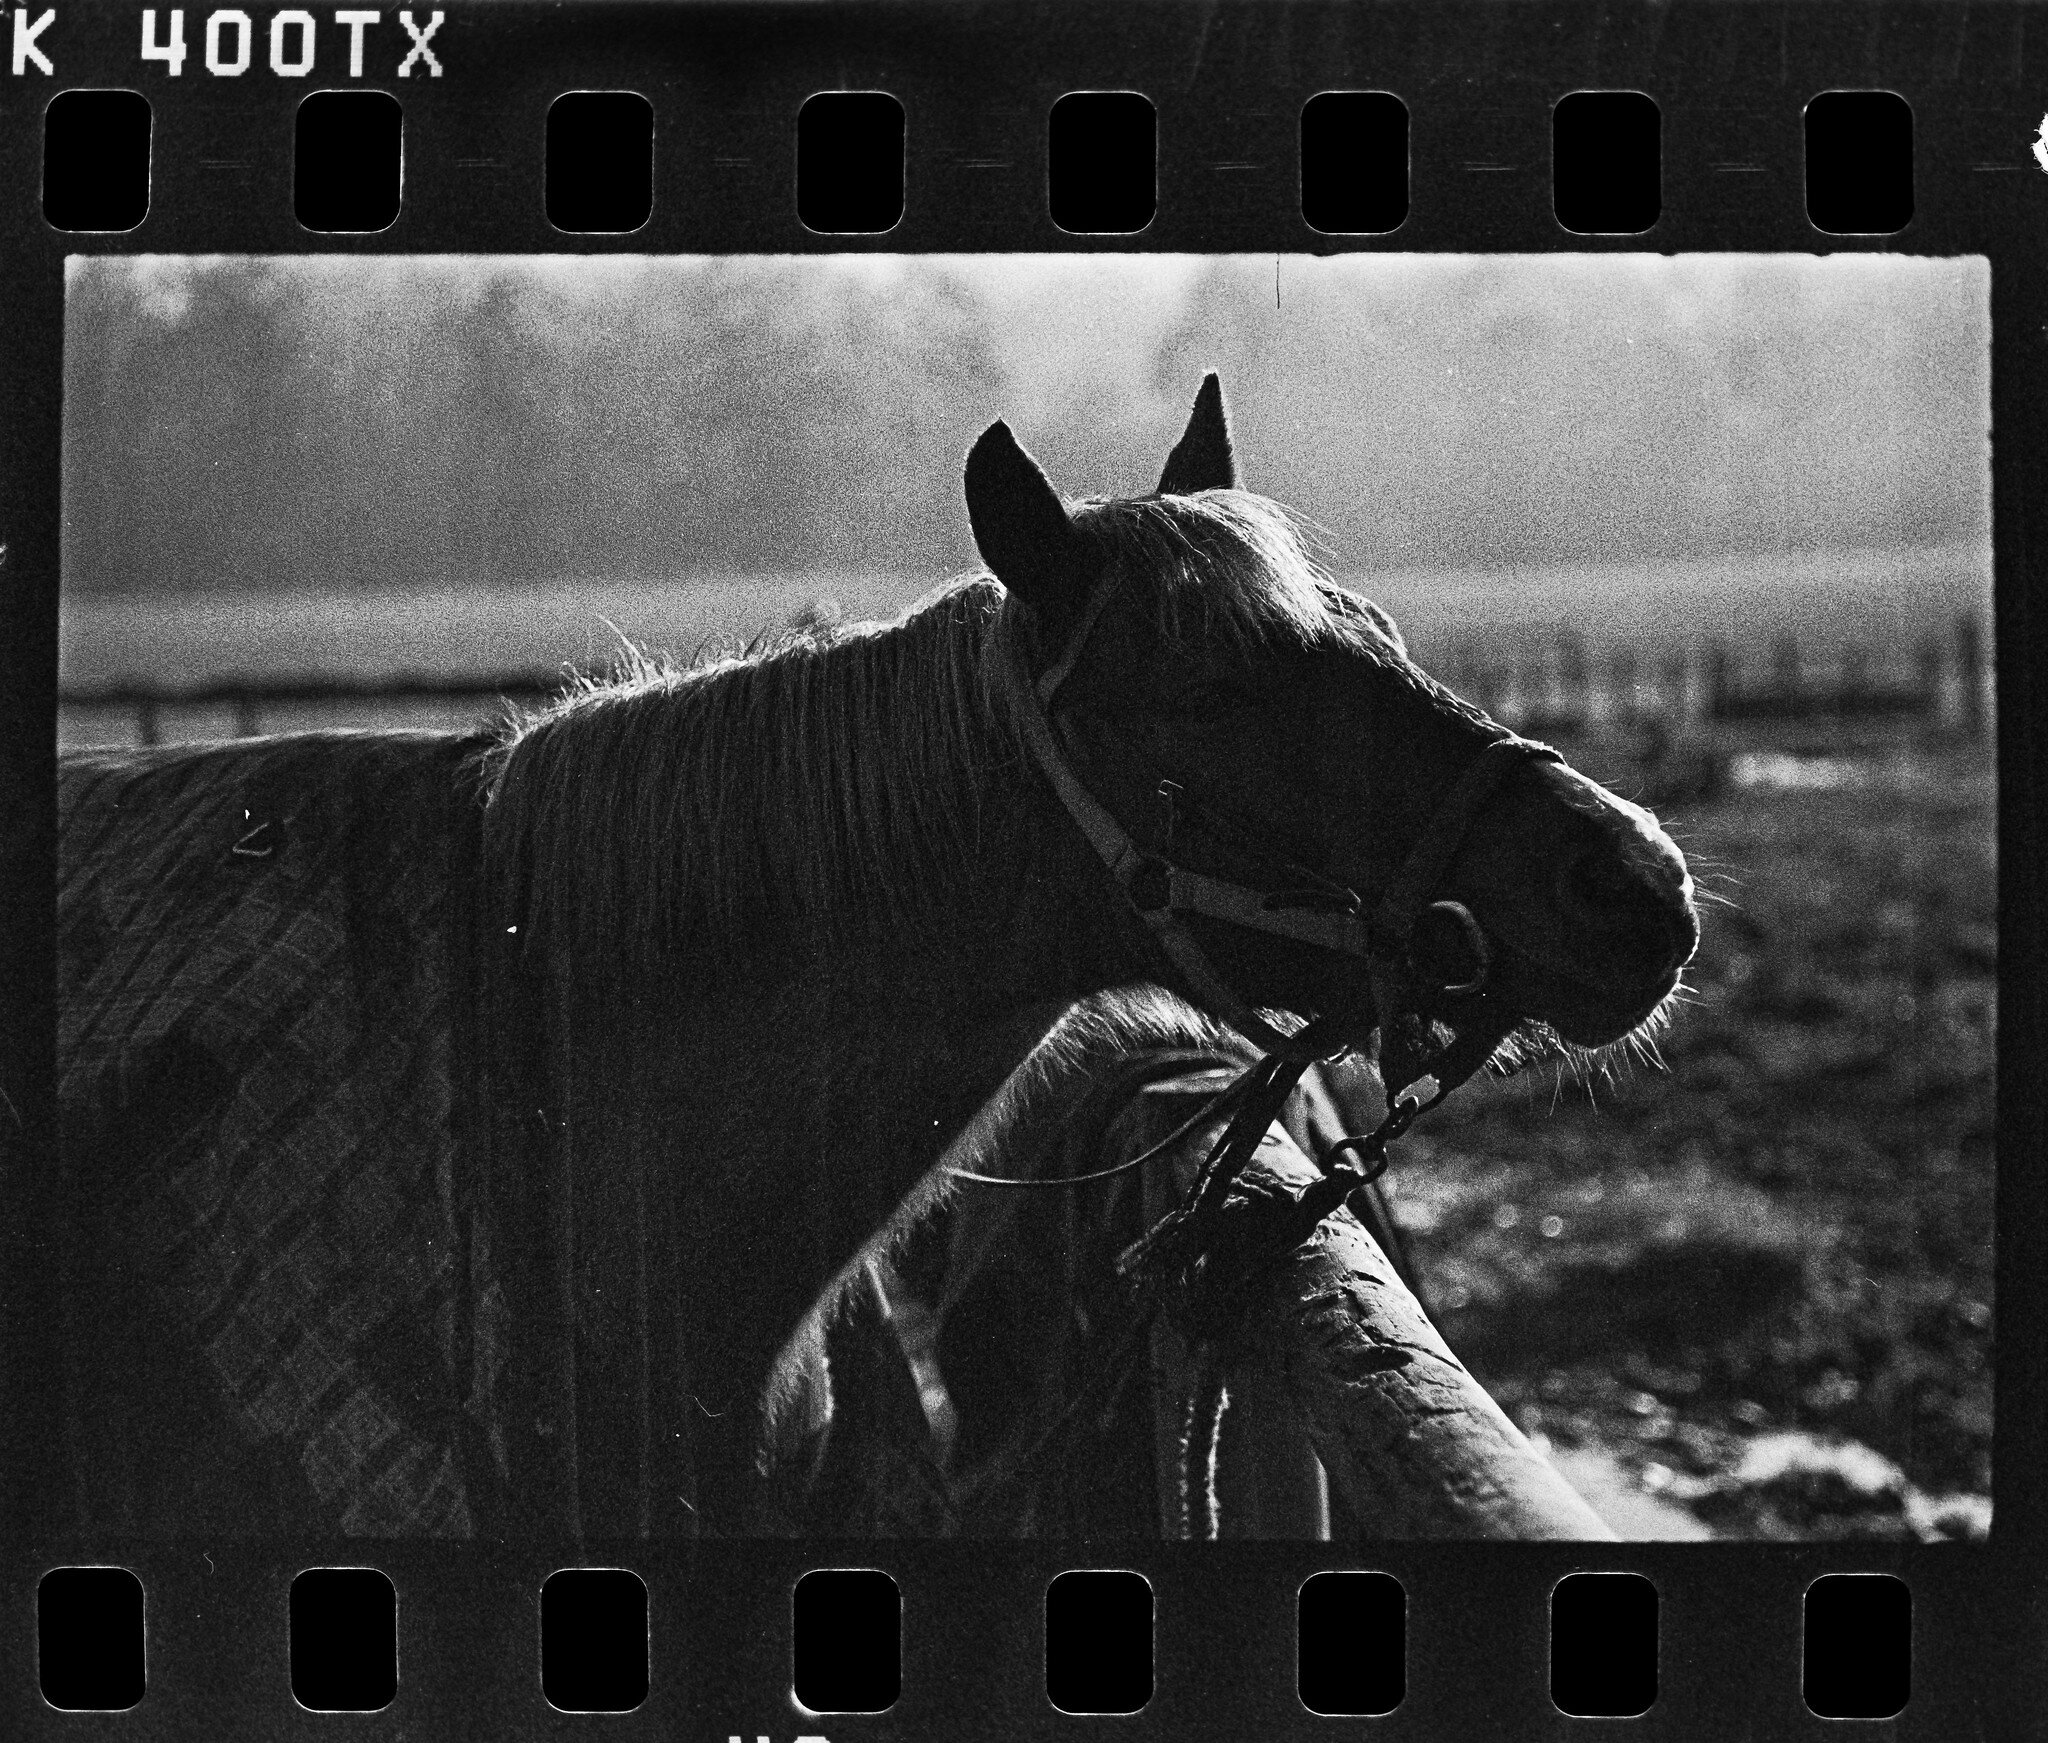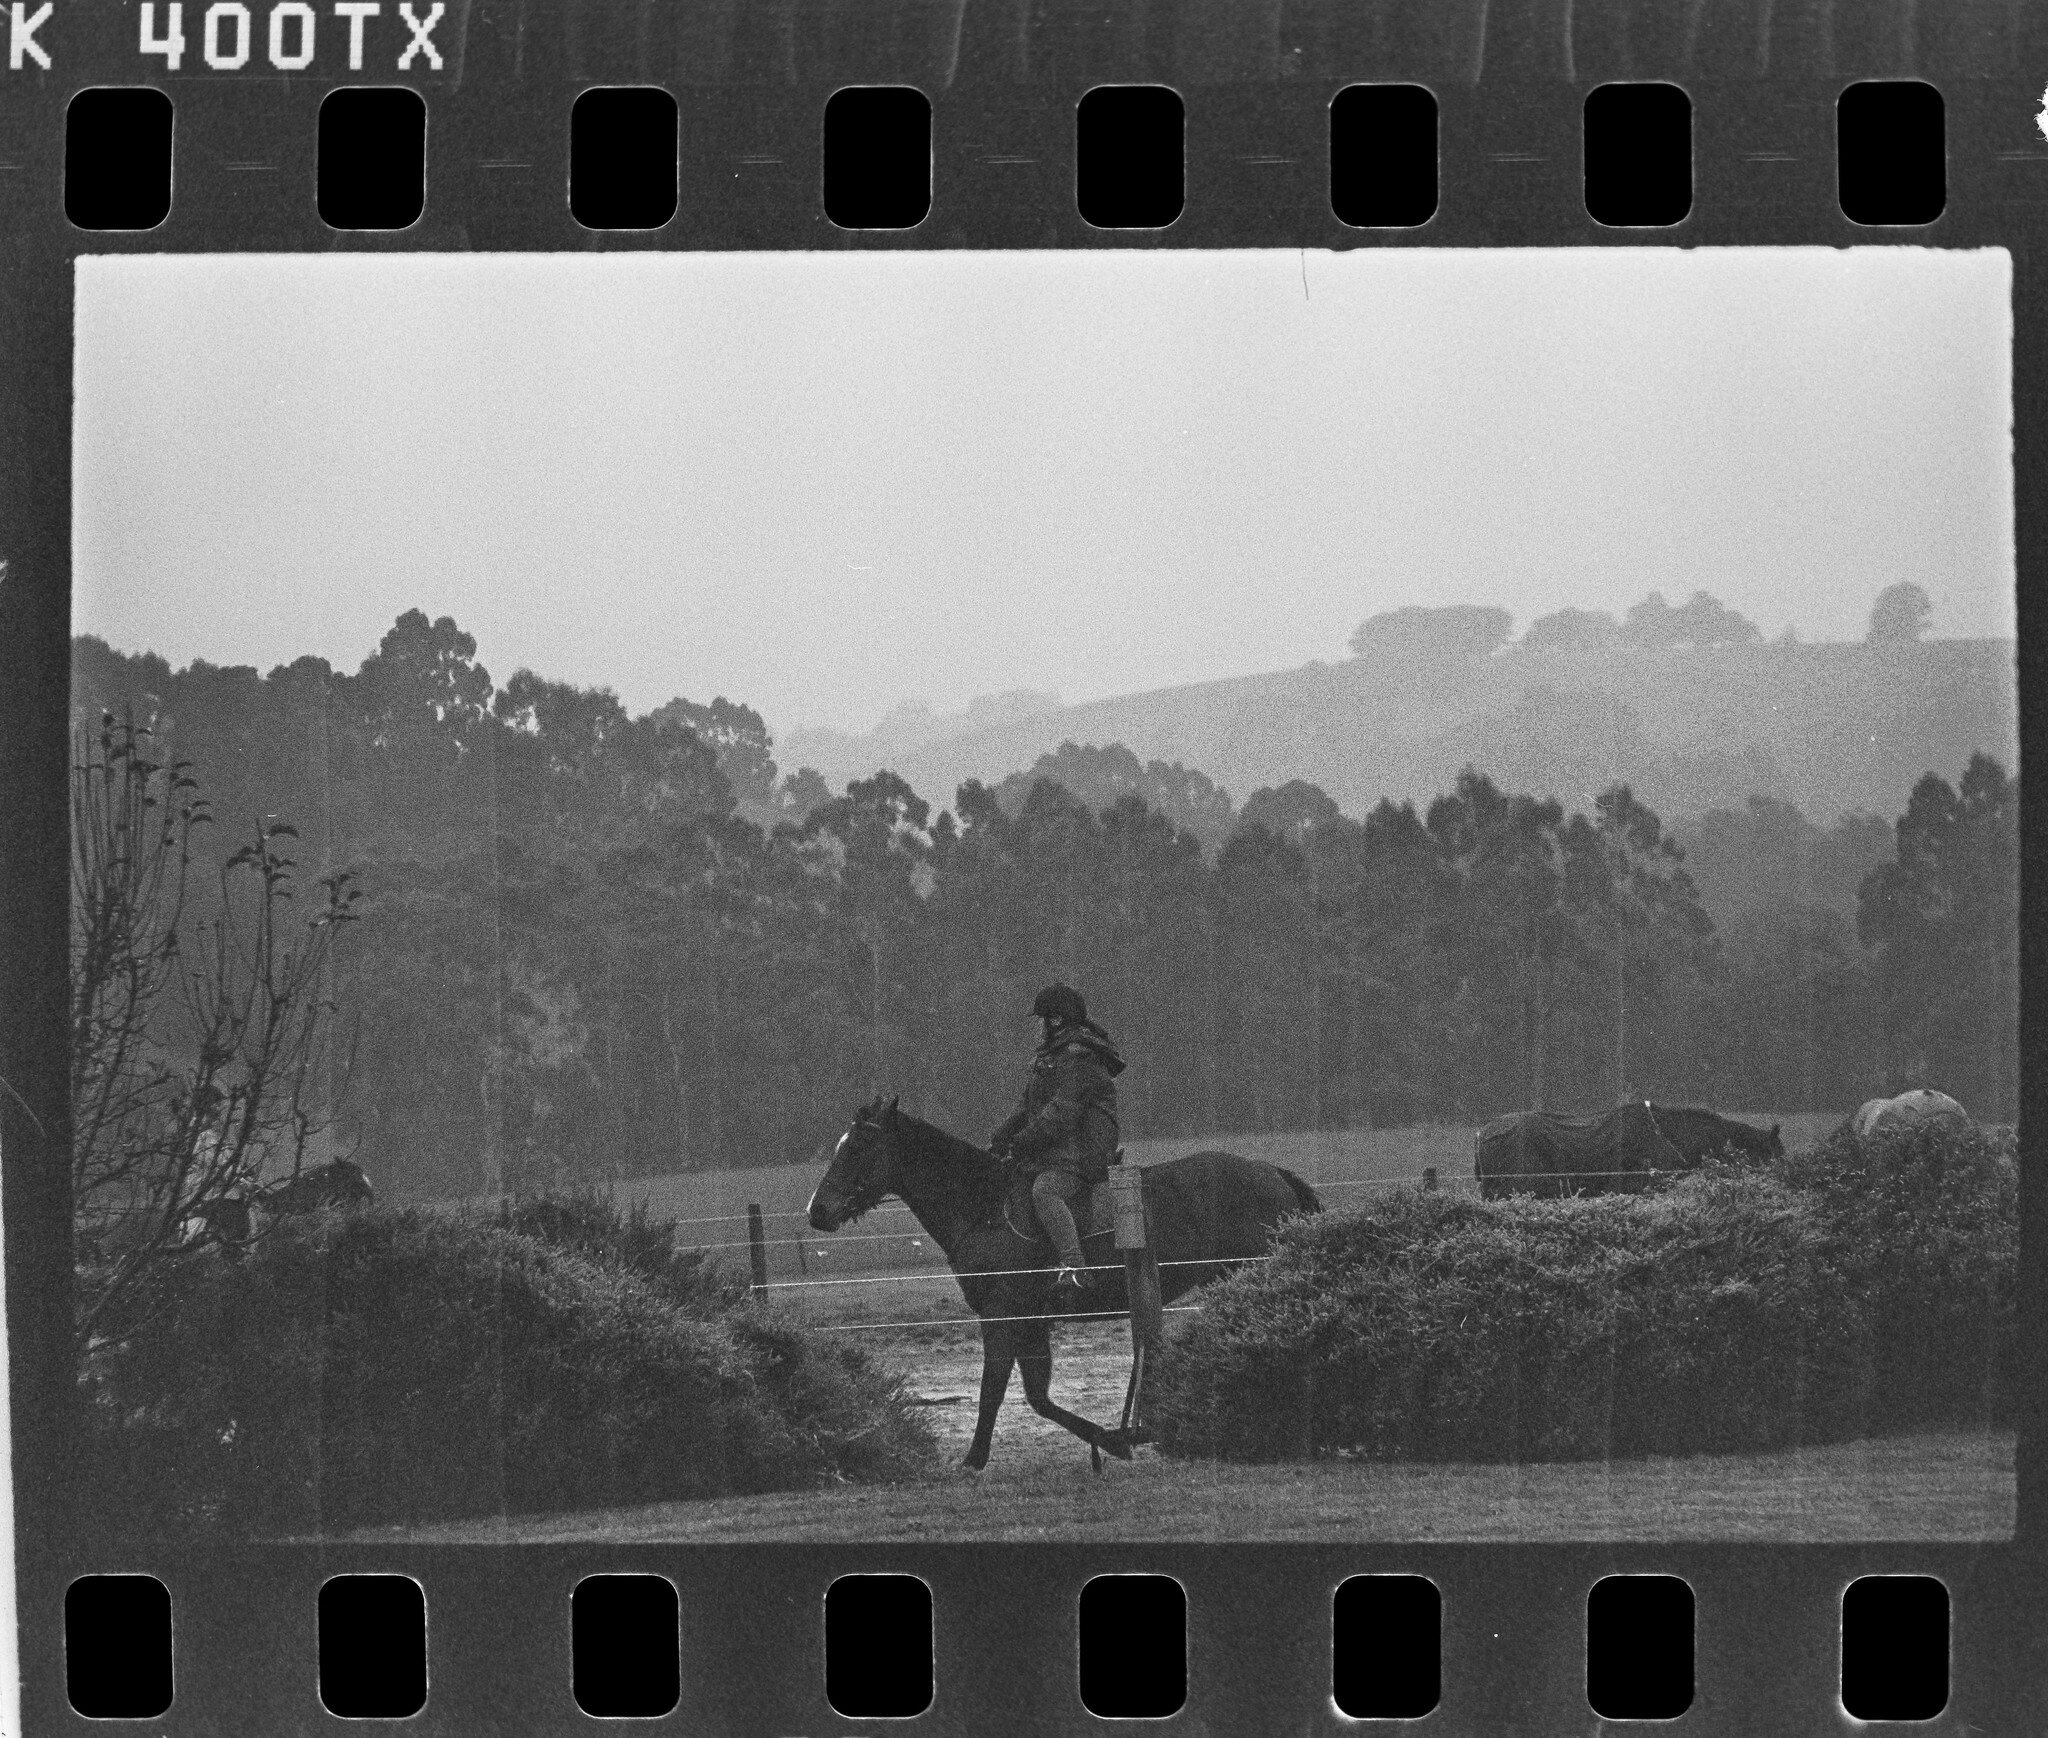
Last week I developed three rolls of very old and expired Kodak 400TX black and white film. Once the negatives were good and dry, I connected my Epson v550 scanner and began to scan and process the first roll. Very quickly I realised my scanner had gone haywire and on some serious drugs. I was getting abstract, nonsense scans. I deleted and reinstalled the drivers and scanning software a few times to try and resolve the issue. After a couple of hours, I was resigned to the fact that my scanner had permanently gone walk-a-bout. It was never going to spit out decent negative scans again.
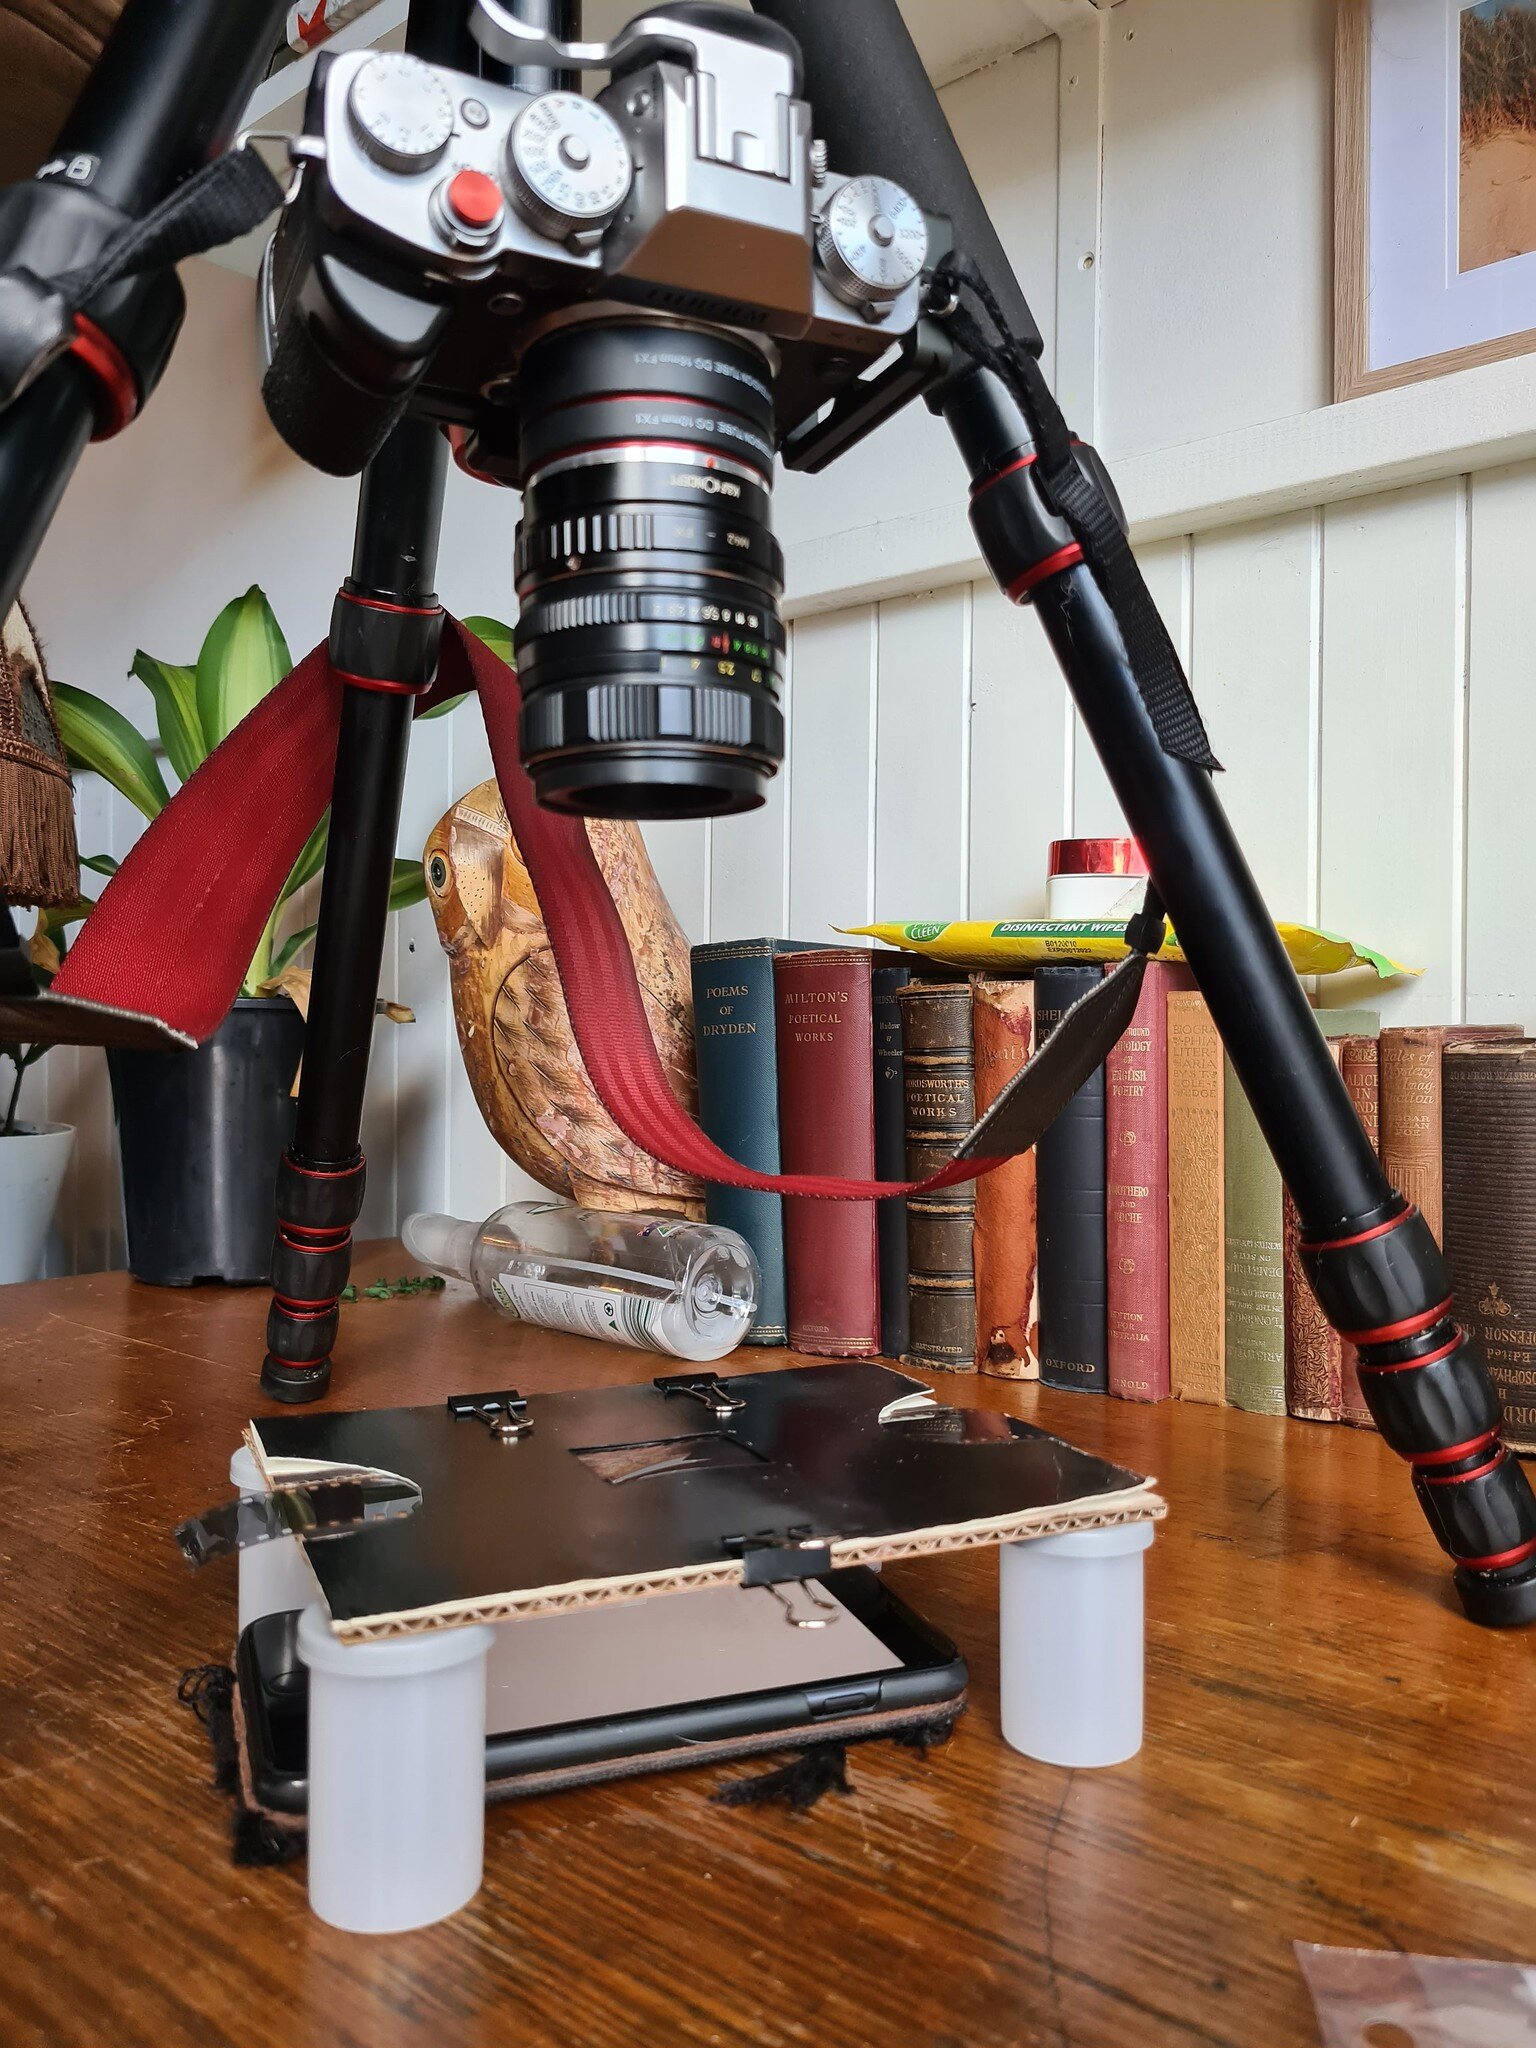
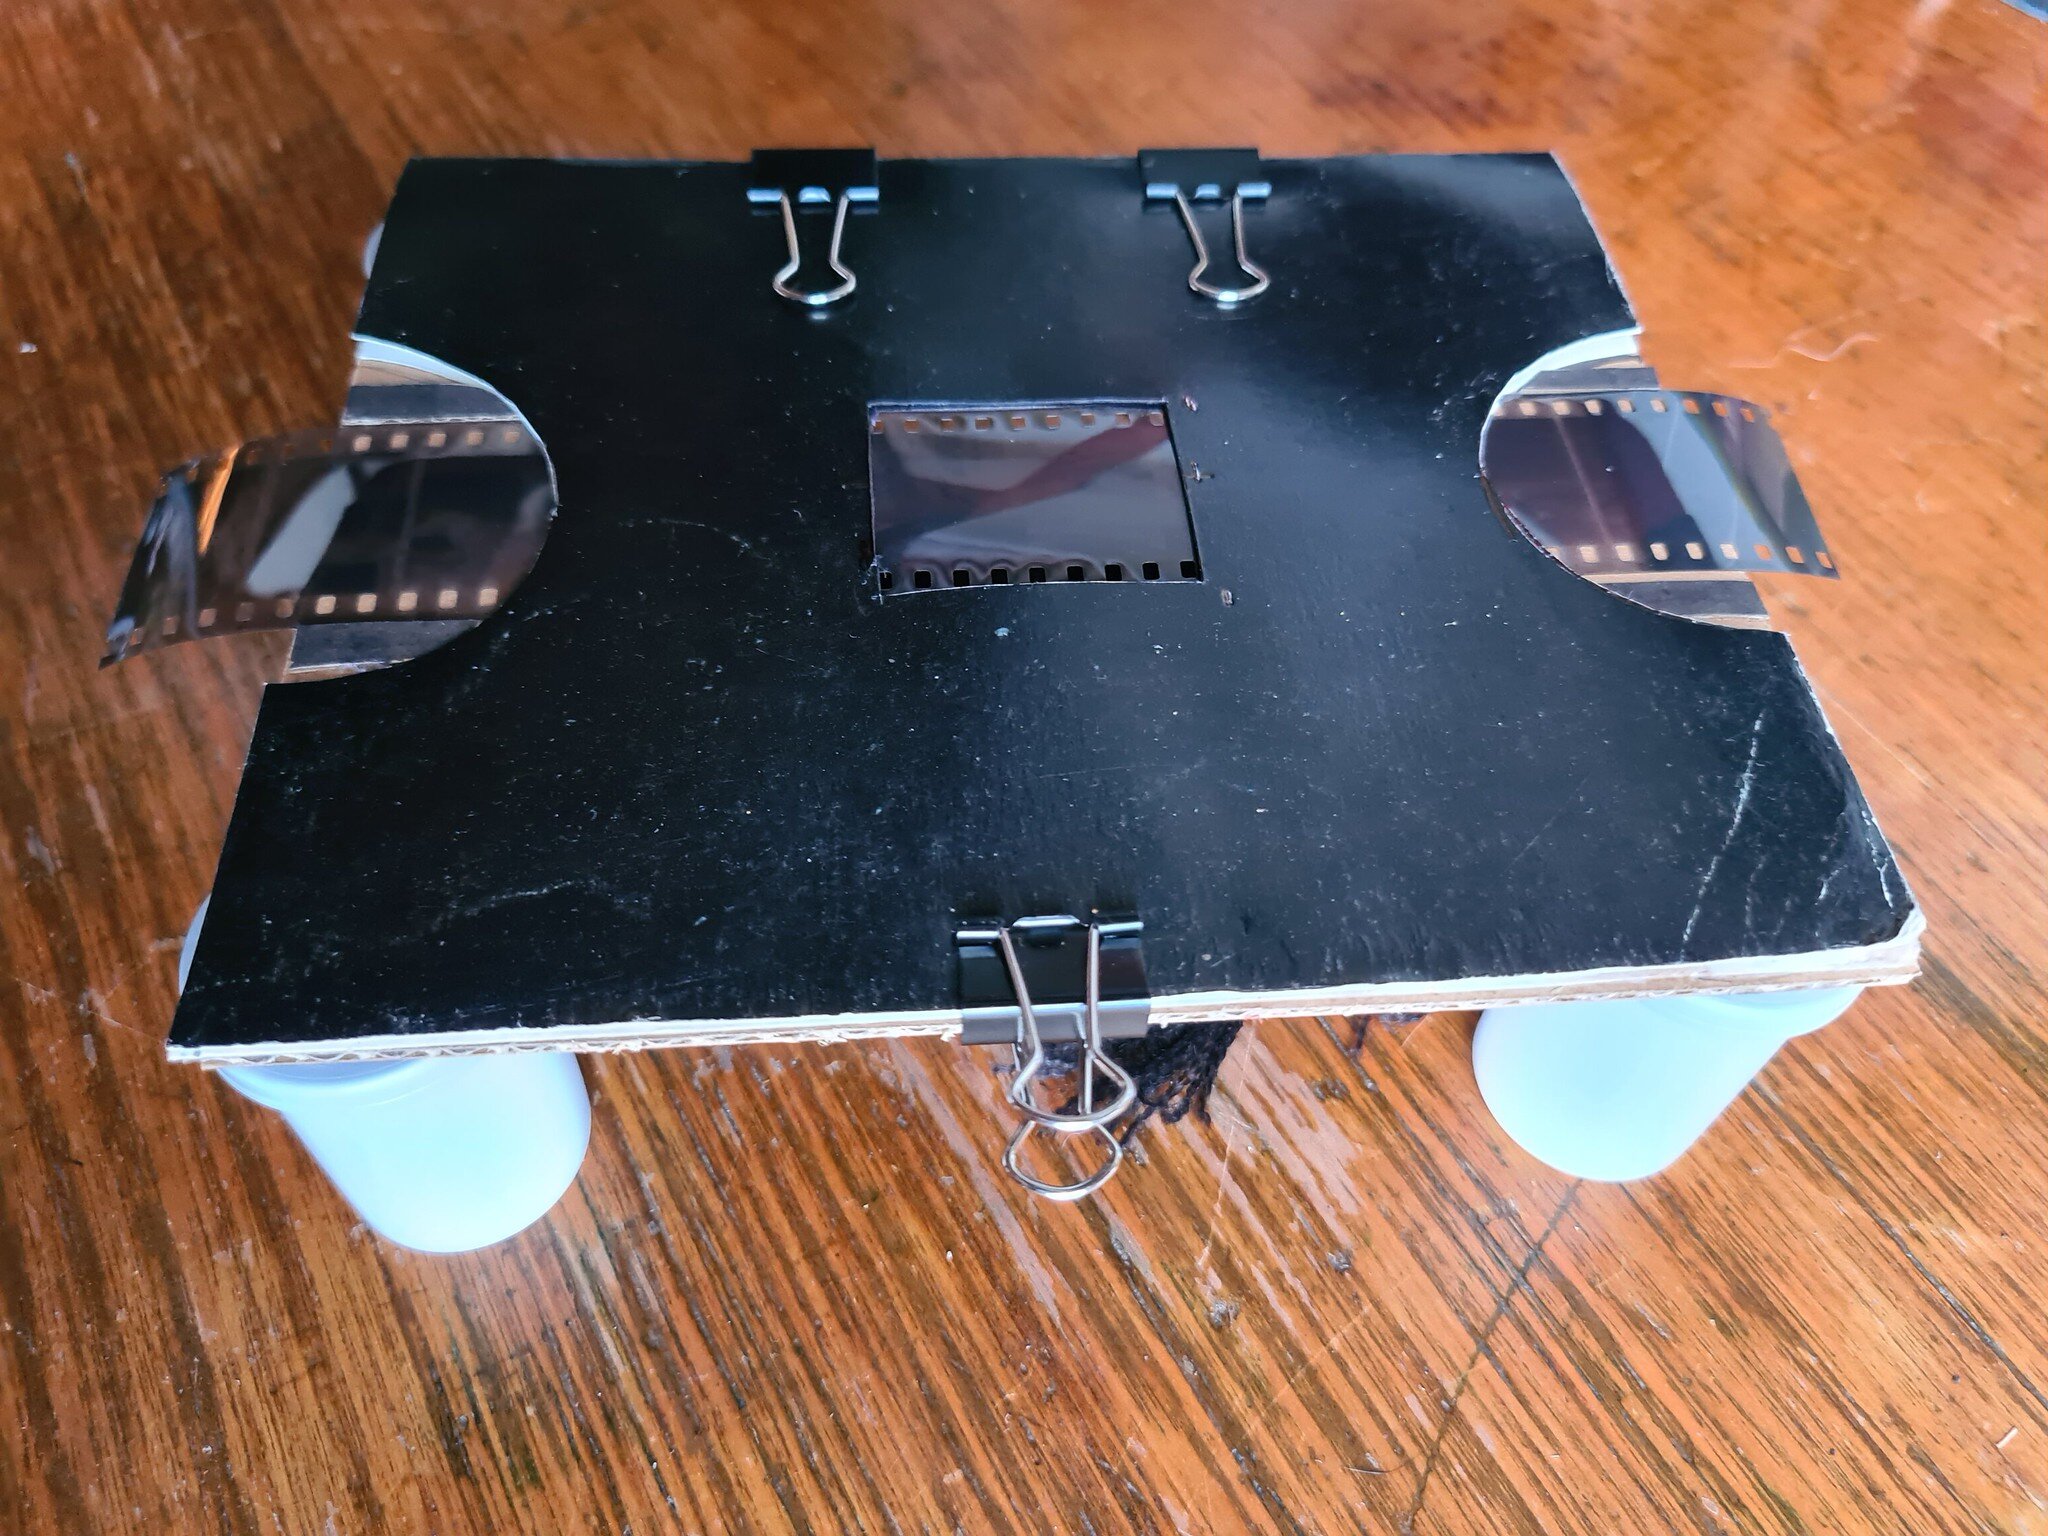
Good quality film scanners are expensive and I was loath to lay out several hundred dollars for another one. I decided to attempt to scan my negatives with my Fujifilm XT3 and process the negative RAW file images into positives in Adobe Lightroom. Using materials around the house I designed and built a film holder out of cardboard, glue and 4 empty film canisters that would hold my negatives flat while allowing light from my Samsung S20+ to stream from underneath.
I experimented with various lenses and found an old Russian Helios 44M-4 58mm f/2.8 lens with a couple of extension tubes attached and adapted to my Fujifilm camera as the best combination to allow me to get close to the negative and fill the frame with the film image.
In the Epson scanner, the negative holders cover the film sprocket holes and they are not included in the resulting scans. With my DIY film holder, I cut a light window just large enough to fit one 35mm film frame including the sprocket holes. I wanted to have the choice of whether I included the sprockets in the image or not.
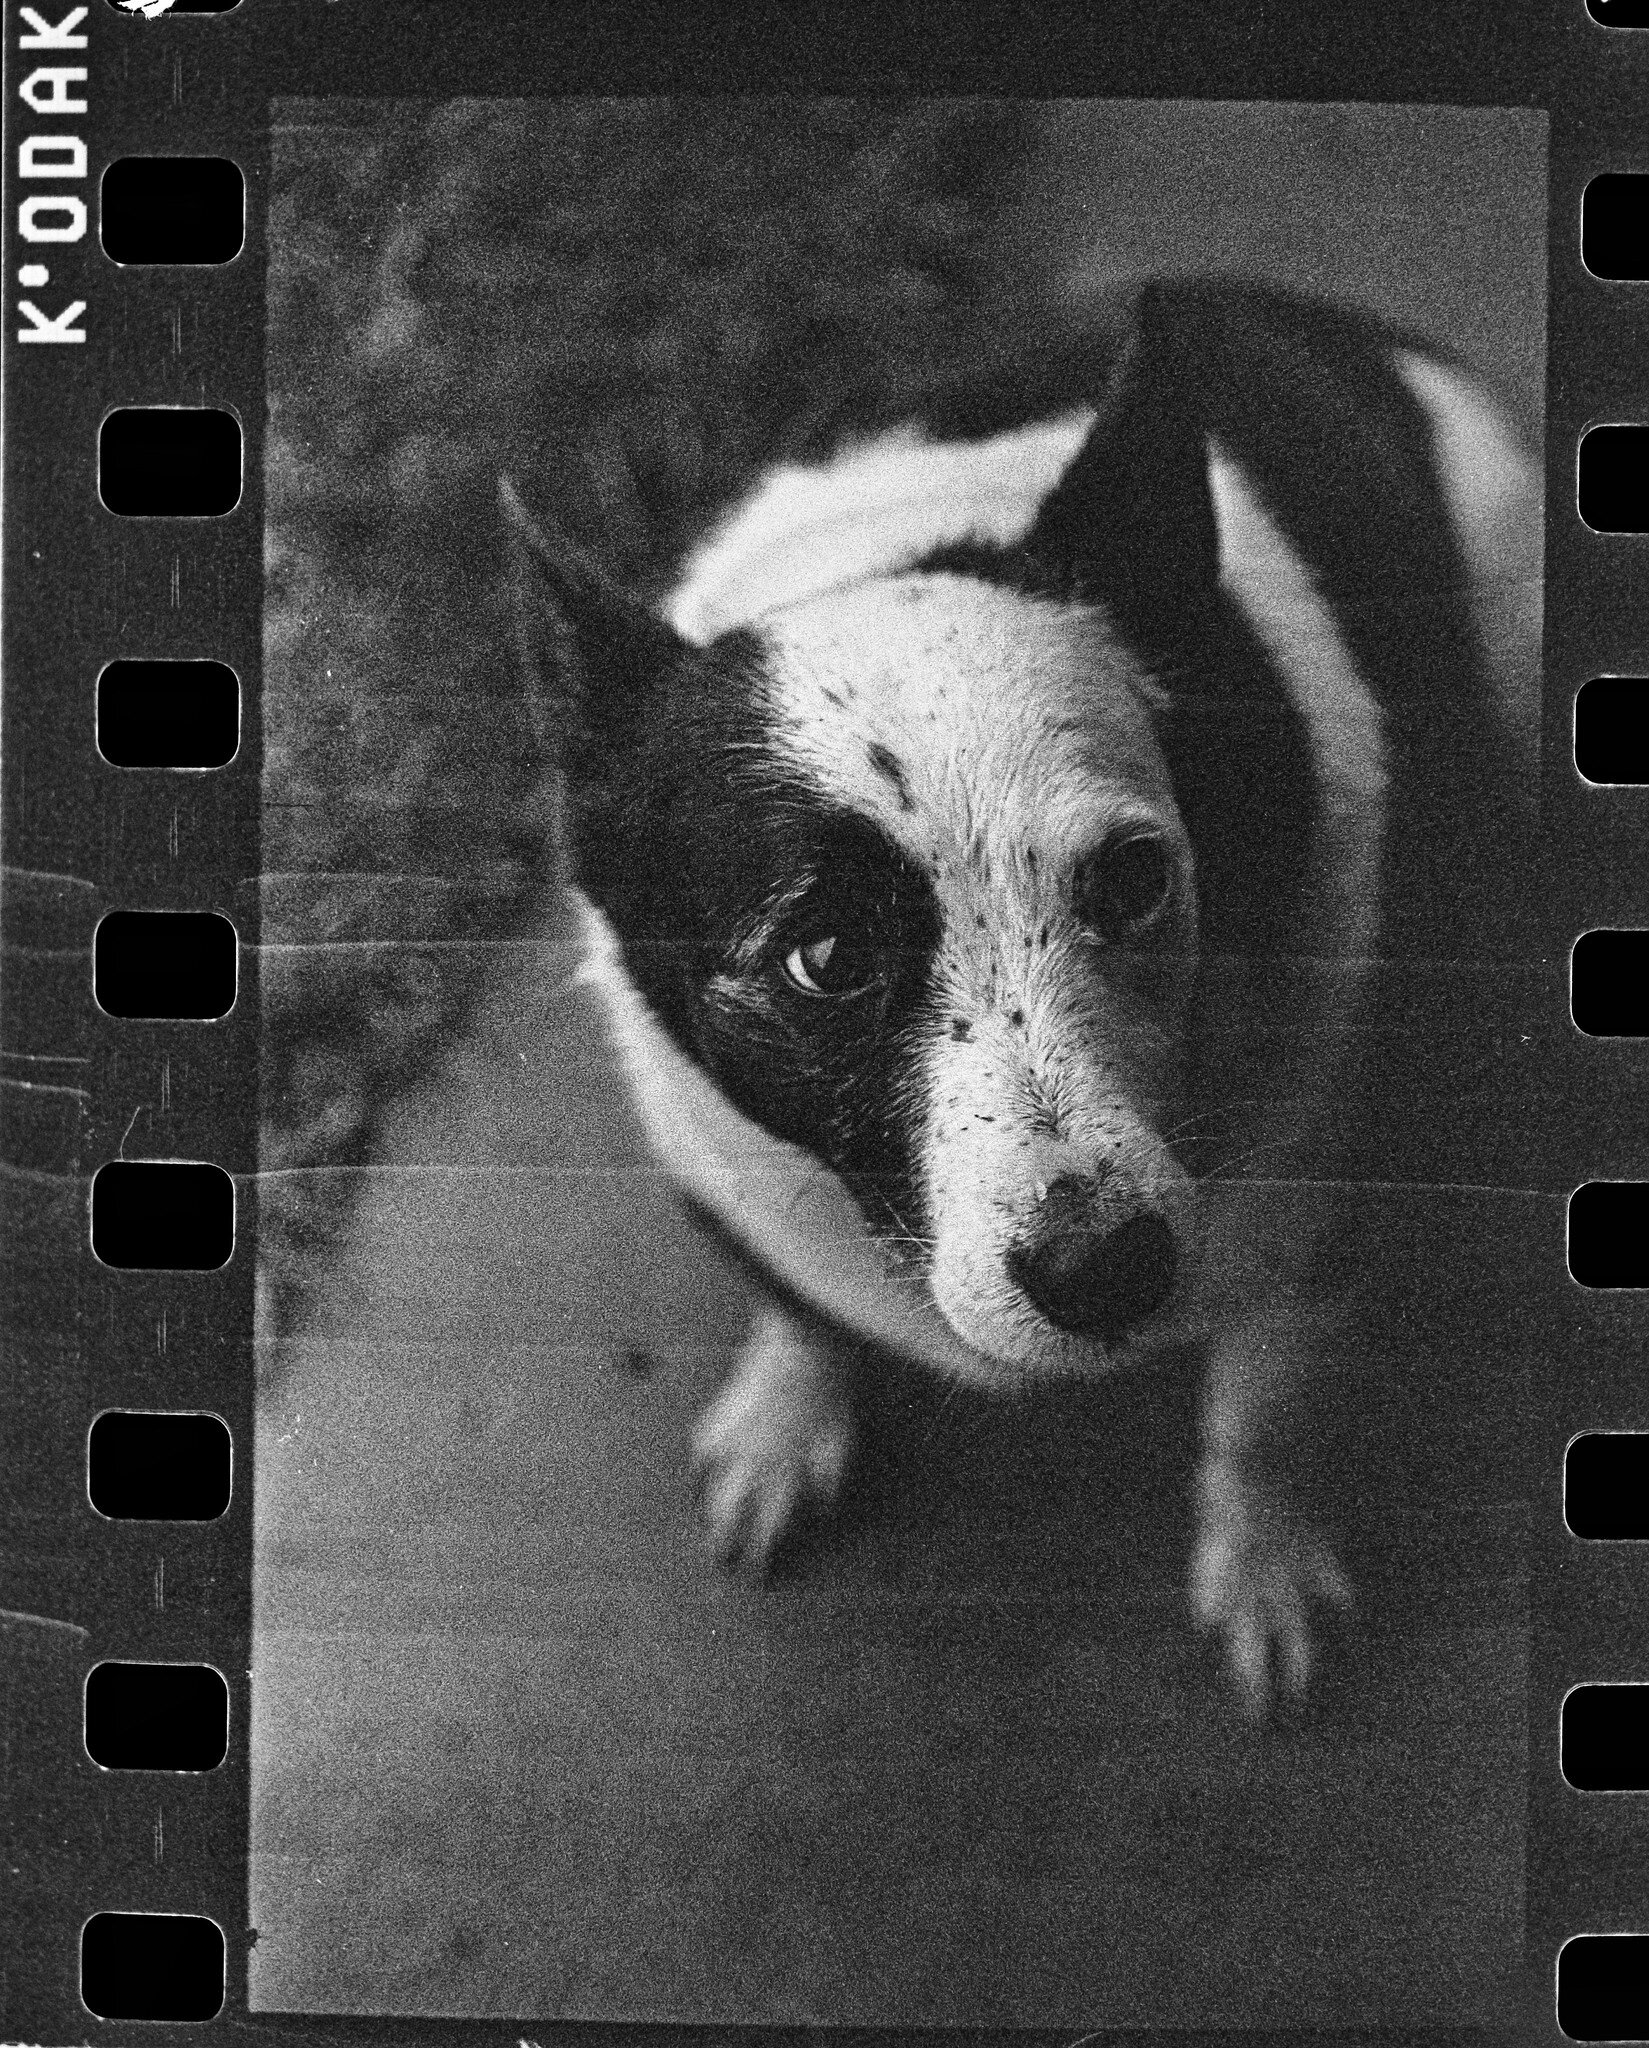
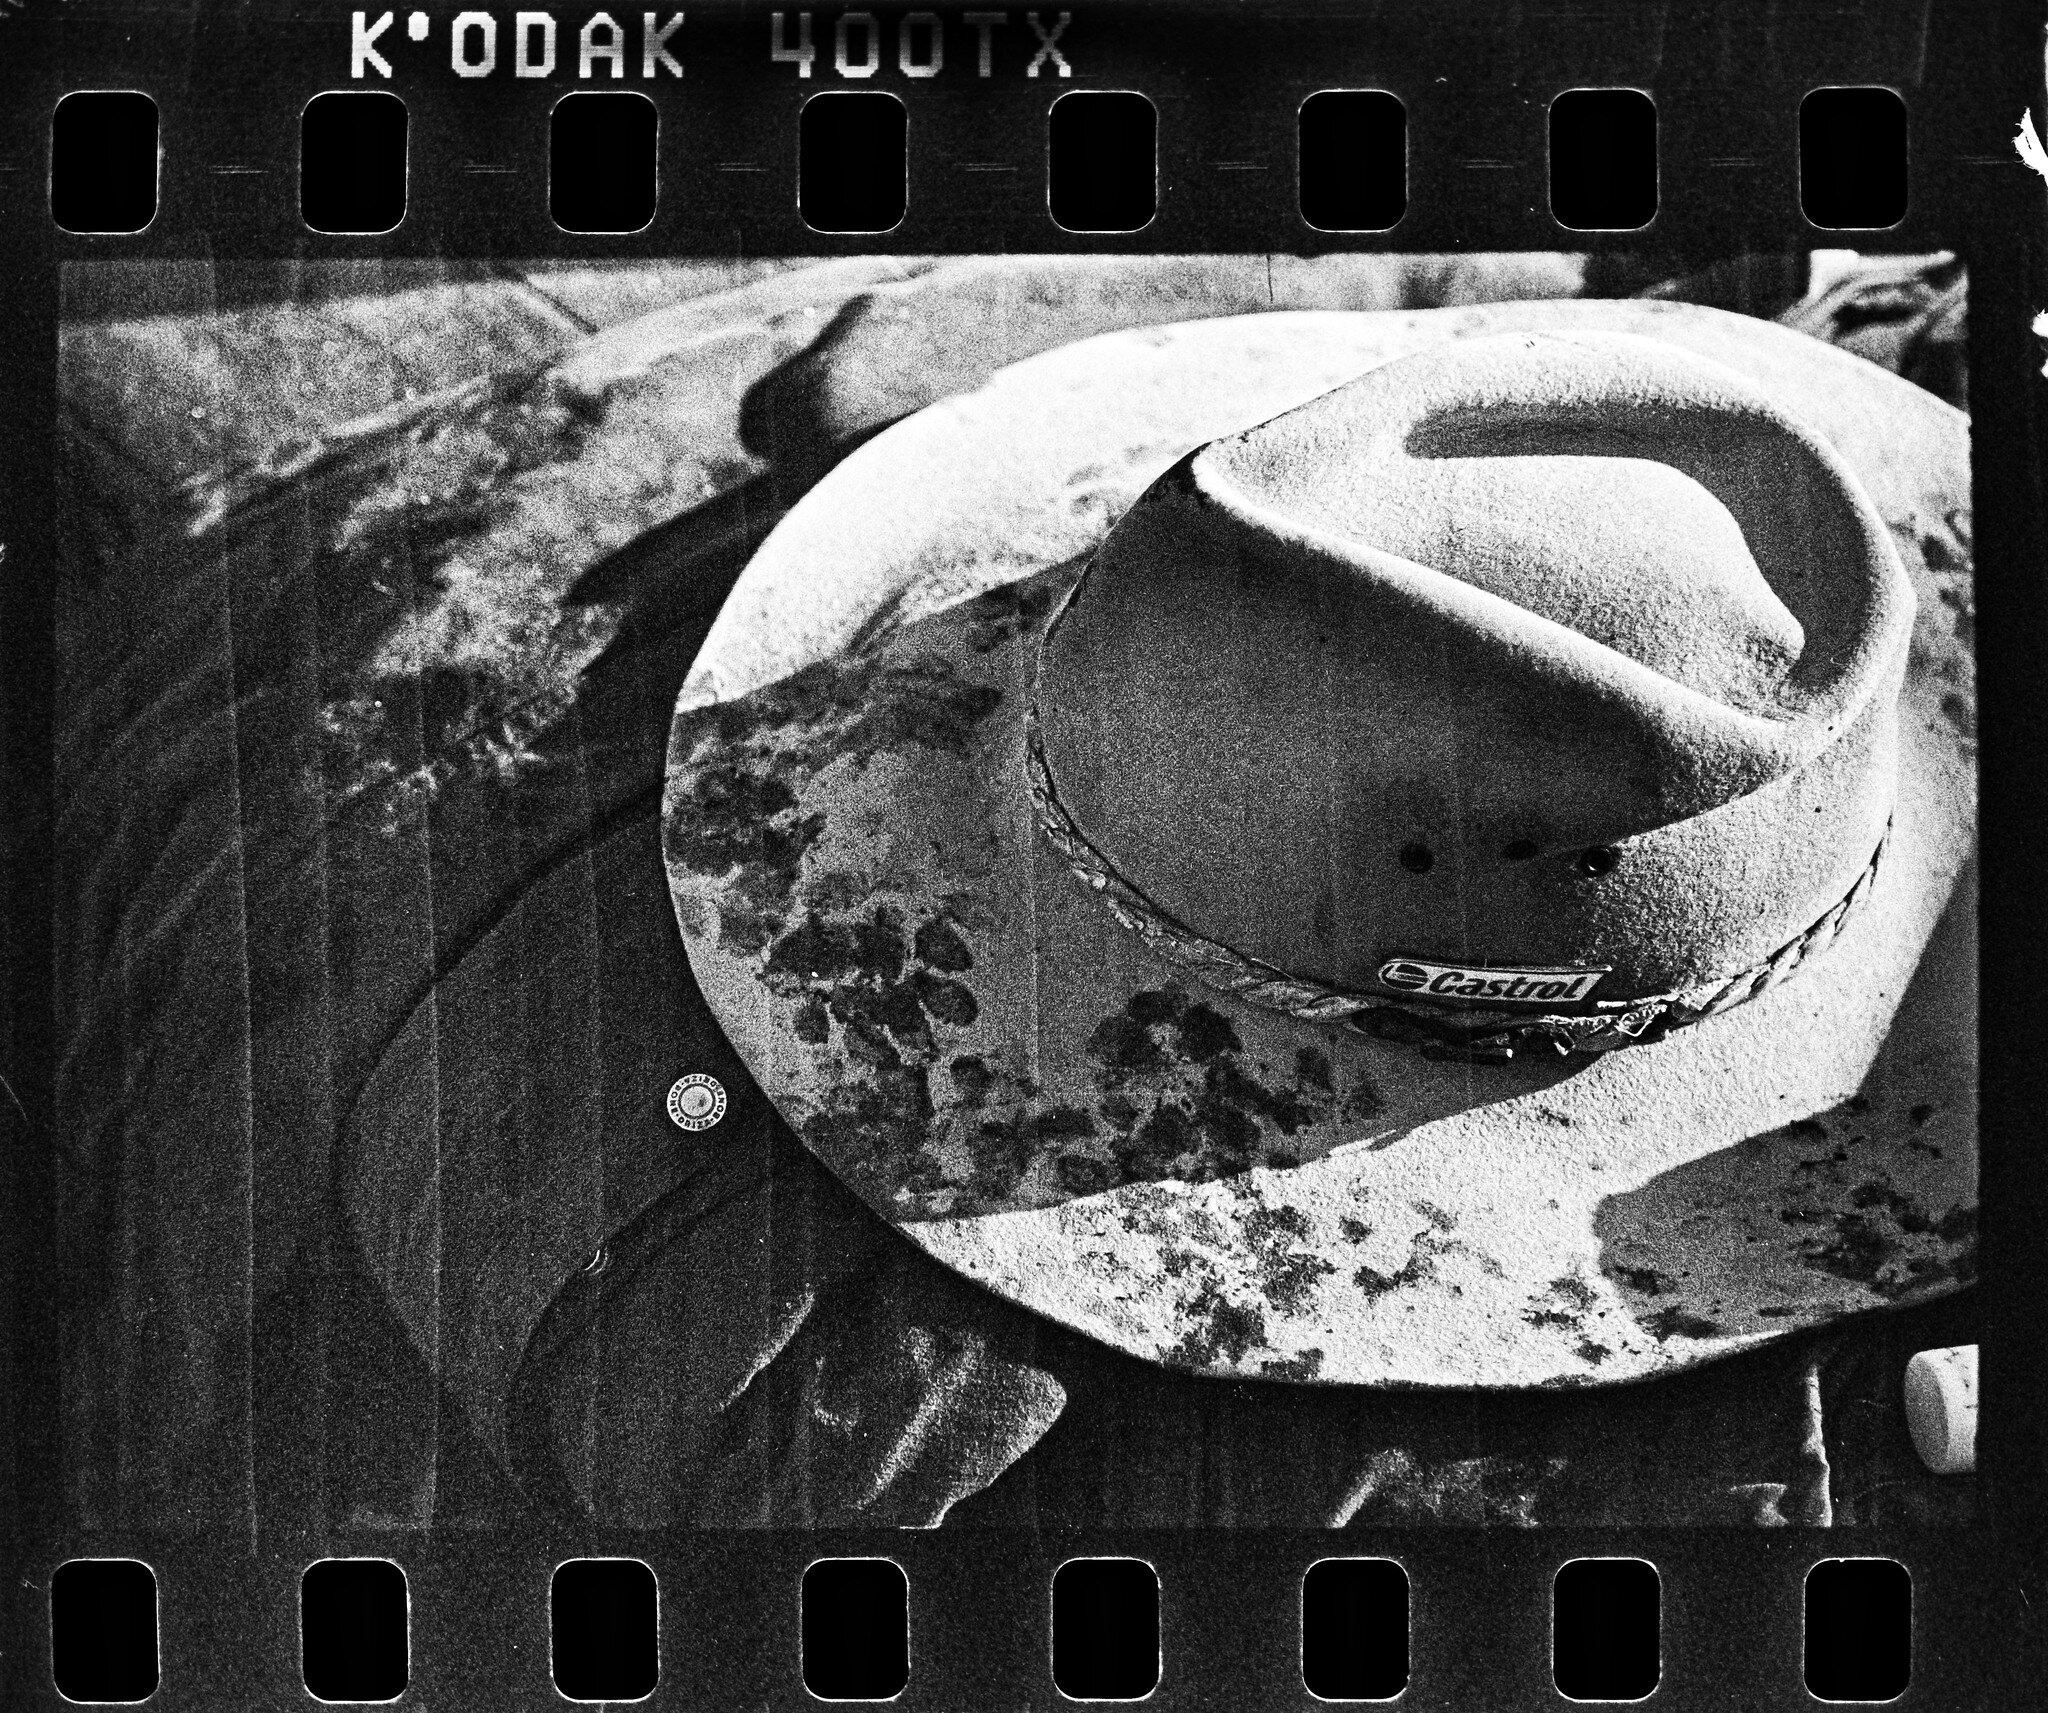
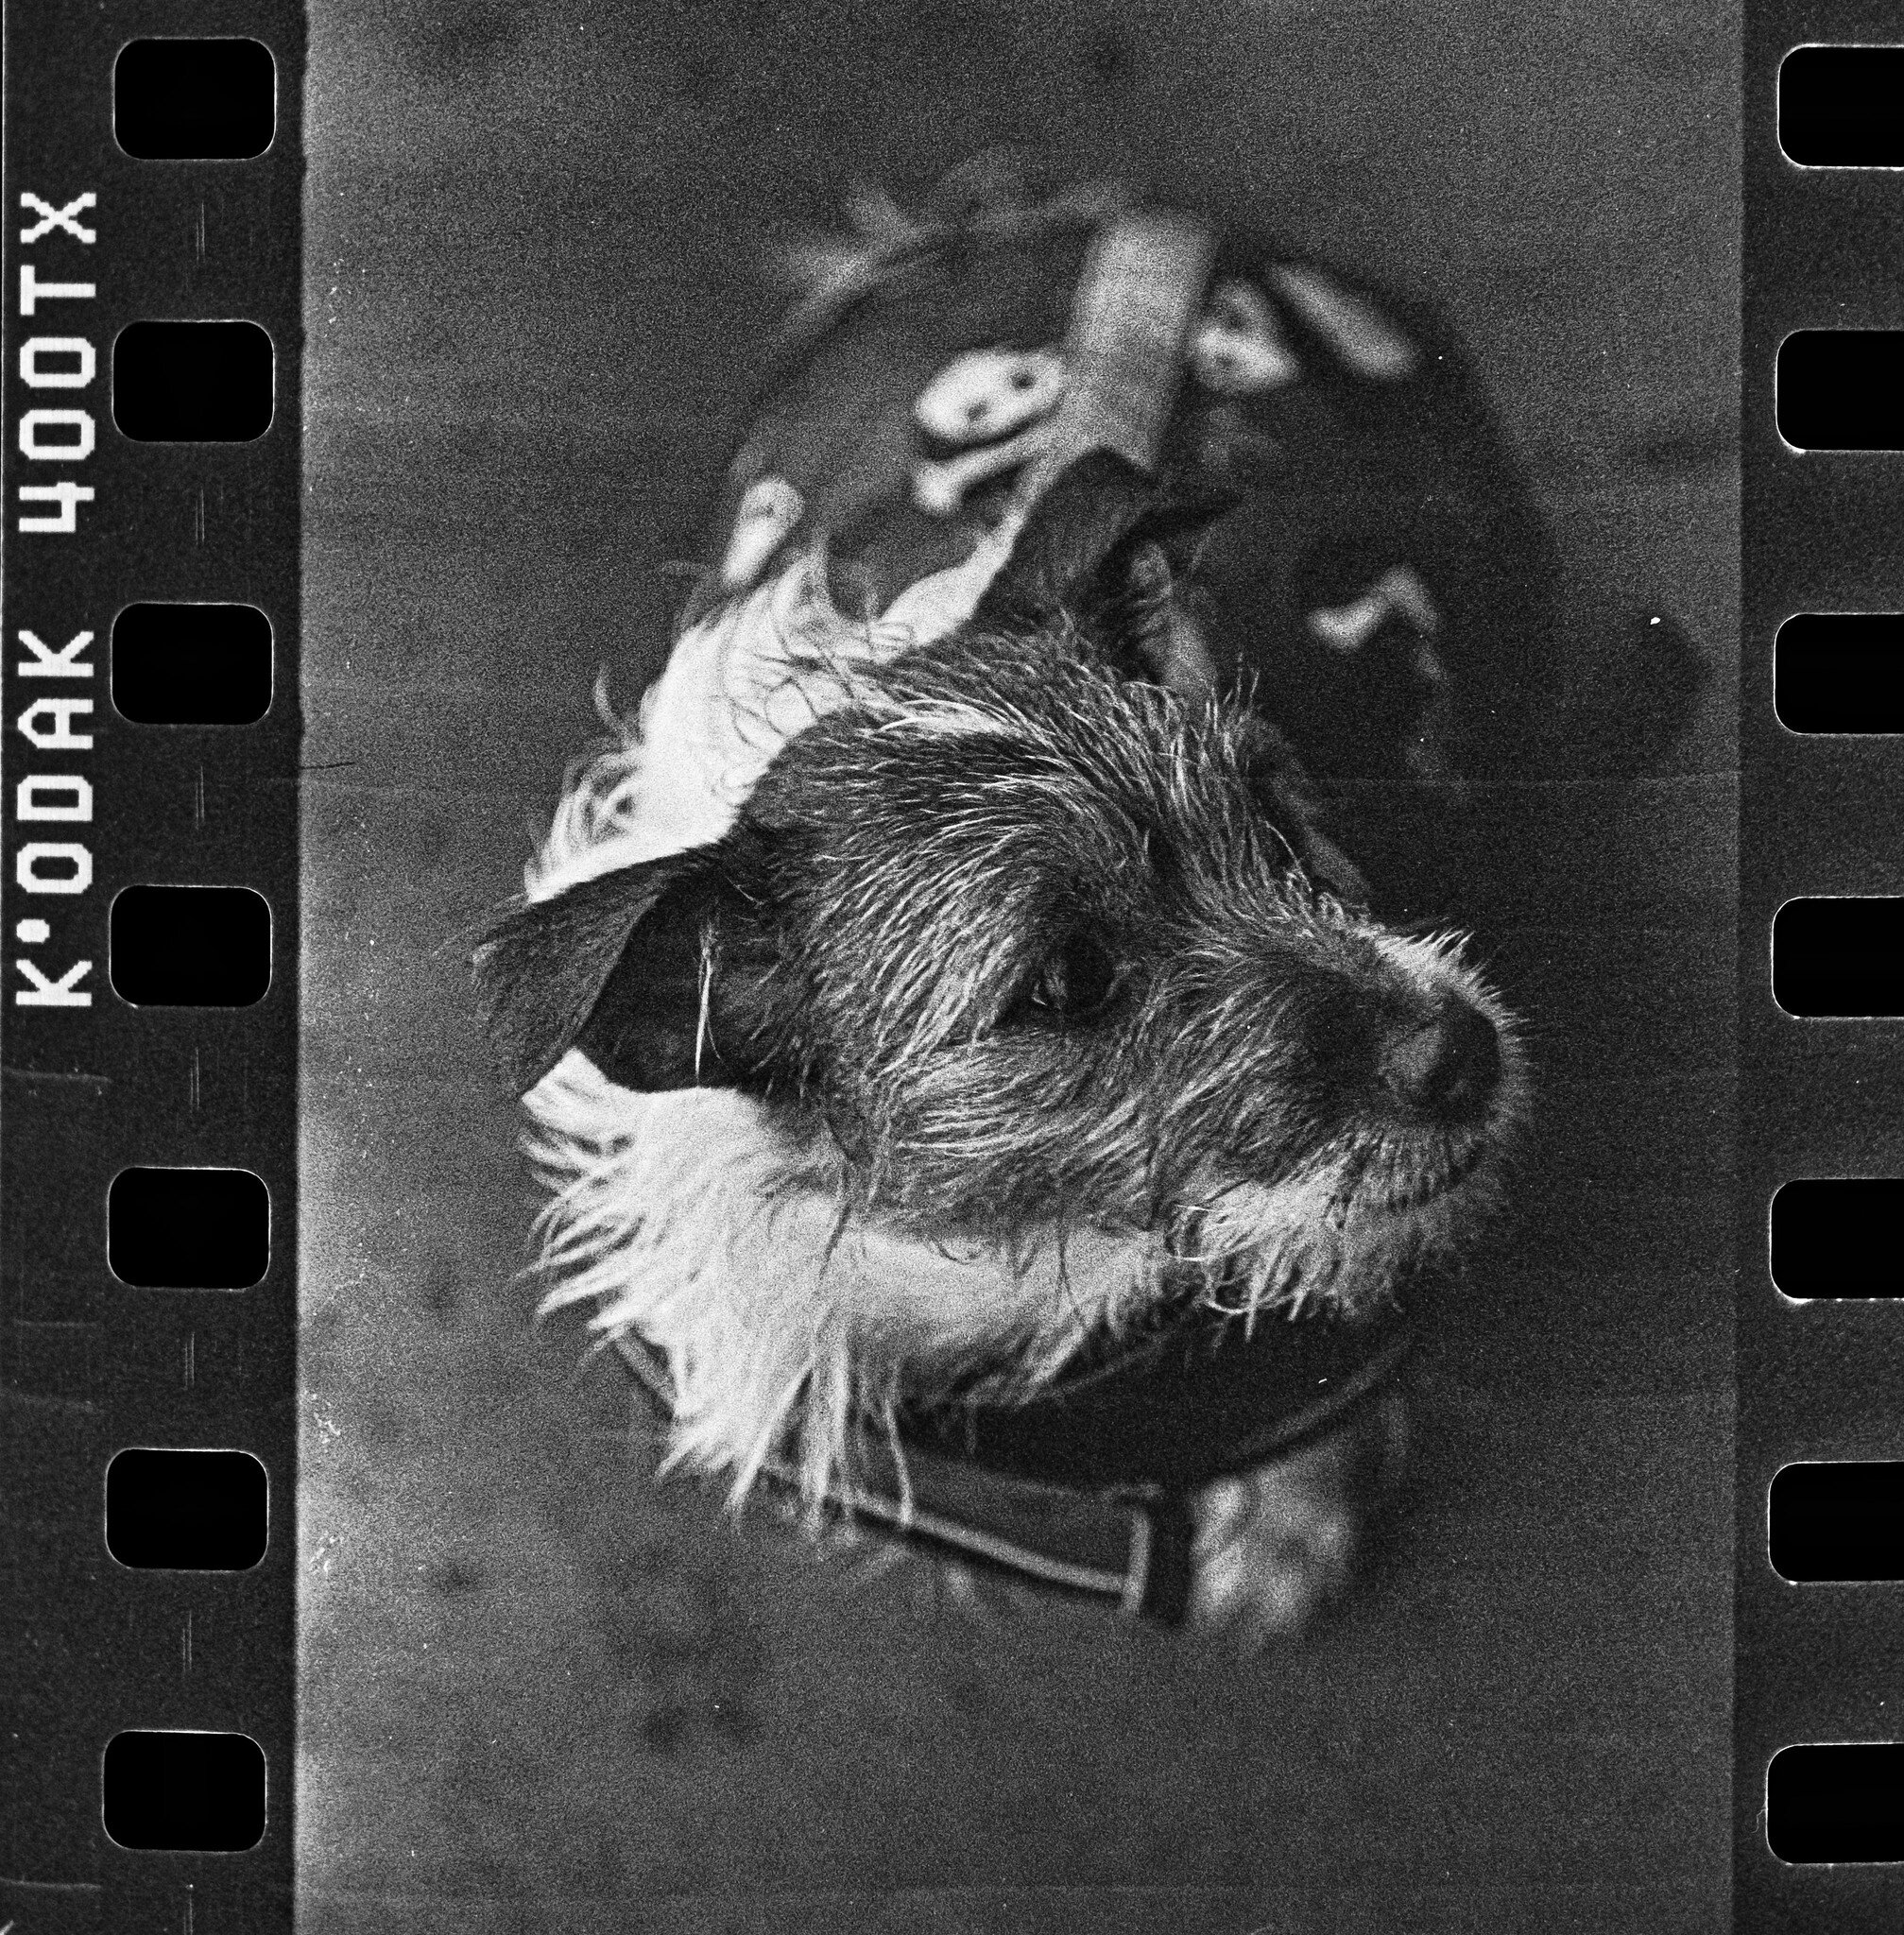
My images came out looking very rugged and old.
Here is my DIY setup and resulting scans from an early Saturday morning of horse riding with my daughter.